Every great home automation system needs a automation software to power it. With the power of Atrim Stick, you're able to locally host your gateway and do so in a way that doesn't store or share any data with the cloud or third-parties. Home Assistant is amongst the most popular open-source software solutions for building your own gateway. In this guide, we'll take you through the steps of setting up Home Assistant using Z-Wave for automation and 800 series Z-Wave for communication.
What you'll need
- A host computer - most systems will use a Raspberry Pi 3B+ or greater and this guide will focus on the Raspberry platform. Raspberry 4 is recommended in order to future-proof your installation
- A micro SD card at least 32GB and class 2. We recommend 128GB if you'll be using Home Assistant with non-Z-Wave features such as video camera or audio recordings
- Home Assistant OS and the Zwavejs2Mqtt addon
- Atrim Stick, a USB stick based, Z-Wave Plus 800 series controller
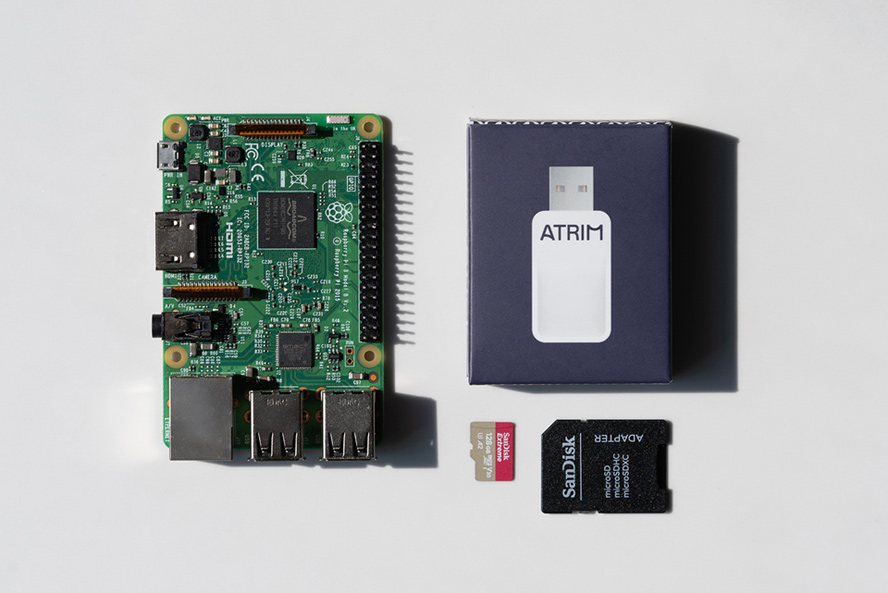
Raspberry Pi, Atrim Stick, SD card. Additional accessories for Raspberry Pi, such as power supply, not featured.
In this guide we have used Home Assistant OS version 8.3 and Zwavejs2Mqtt version 0.44.1.
Install Home Assistant
If you haven't already setup Home Assistant with a Raspberry Pi, follow that link to our dedicated guide.
Setup Z-Wave within Home Assistant
The following steps assume that it's a fresh installation of Home Assistant to which you're adding Z-Wave. By default, Home Assistant doesn't come with Z-Wave functionality installed. In these steps, we'll guide you through installing the Zwavejs2Mqtt add-on (aka. Z-Wave JS to MQTT) which enables complete control and automation of Z-Wave devices through Home Assistant. Note: Zwavejs2Mqtt is 1 of 2 possible Home Assistant add-ons which enable Z-Wave functionality. While Zwavejs2Mqtt is most peoples' add-on of choice, you may want to compare the 2 add-ons in our Z-Wave JS vs. ZwaveJS2MQTT guide.
- If you do not already have it setup, follow our guide for setting up Home Assistant with Raspberry Pi.
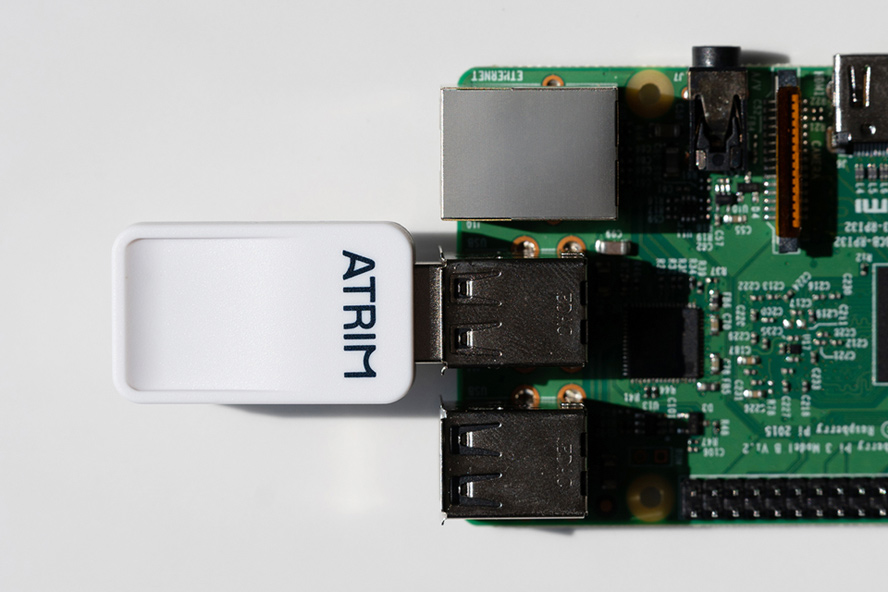
- Plug Atrim Stick into a USB port on Raspberry Pi or your chosen host computer.
- Open Home Assistant in a browser and login. The URL for Home Assistant is typically http://homeassistant.local:8123/ The dashboard, 'Overview', should load.
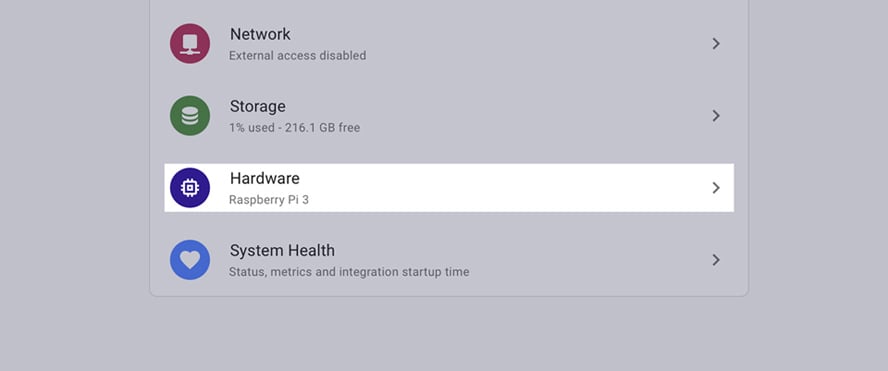
- Click "Settings".
- Click "System".

- Click "Hardware".
- In the top right corner, click on the 3 dots vertical ellipsis ⋮
- Click "All Hardware".

- Find Atrim Stick within the list, its name will typically feature the strings 'tty' and 'USB' in it. It will also be associated with a longer string containing phrases 'serial' and 'Silicon_Labs'. Click to expand the content. There will be a short string such as '/dev/ttyUSB0' - this is what you need to note.

- Click "X" to close the pop up.
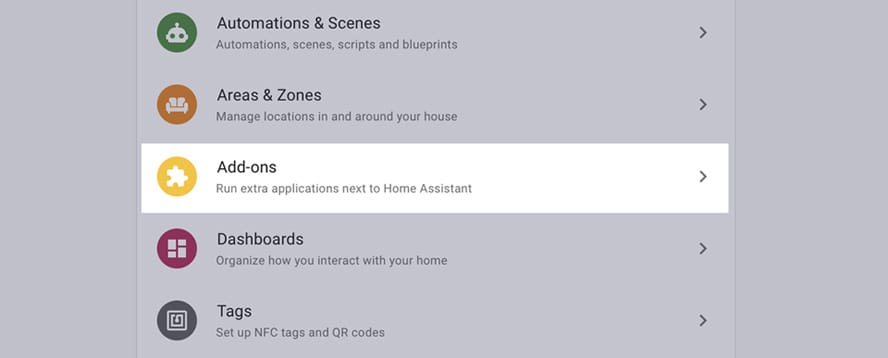
- Click "Settings".
- Click to "Add-ons".
- Click "Add-on Store" in the bottom right corner.

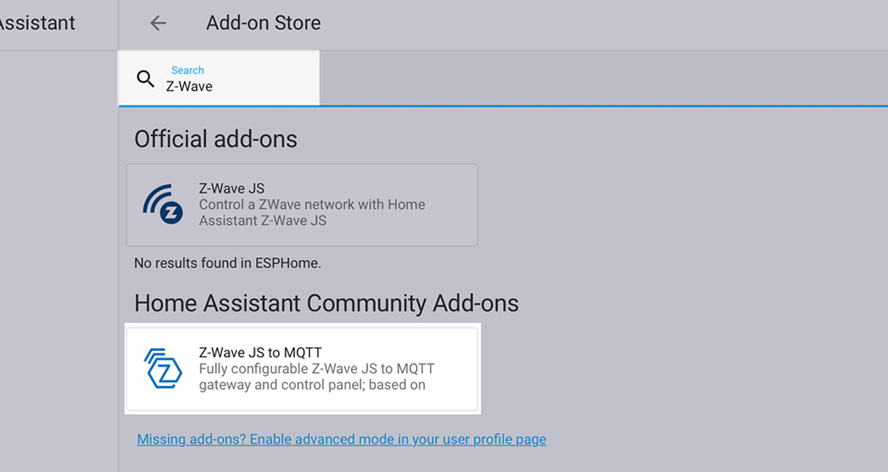
- In the search bar at the top of the screen, enter 'Z-Wave'. Under the 'Home Assistant Community Add-ons' title click on the 'Z-Wave JS to MQTT' result.
- Click "Install". The process can take up to 5 minutes.
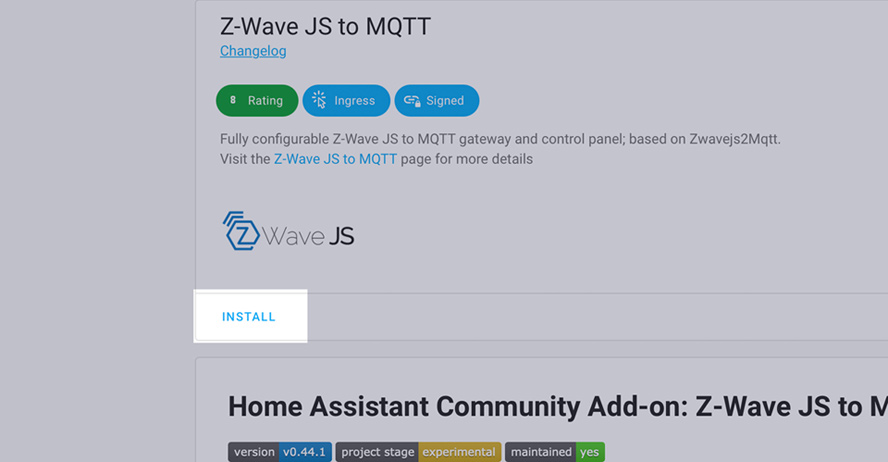
- Once installed, ensure that the following settings are activated.
- "Watchdog"; should Home Assistant or the add-on crash, watchdog will automatically restart Z-Wave JS.
- "Start on boot".
- "Show in sidebar".

- Click "Start" to start Z-Wave JS to MQTT's processes. Should the starting process appear to fail, log out of Home Assistant, log back in, and then return to this screen.
- Navigate to the "Configuration" tab for the add-on.
- Under the "Network" panel, in the blank field under the label "Host", enter the number '3000'. If no blank field appears, first click "Show disabled ports" and then repeat this step.
- Click "Save".

- Restart the Z-Wave JS to MQTT add-on if prompted to do so.
- Click "Z-Wave JS" in the left hand menu. Z-Wave JS to MQTT uses Z-Wave JS as its foundation, so the menu is 'mislabelled' accordingly.
- You will be prompted to submit statistics to the Z-Wave JS development team. This is optional and has privacy implications for you on one hand, but makes Z-Wave JS better on the other. Click "OK" or "No" as you prefer.
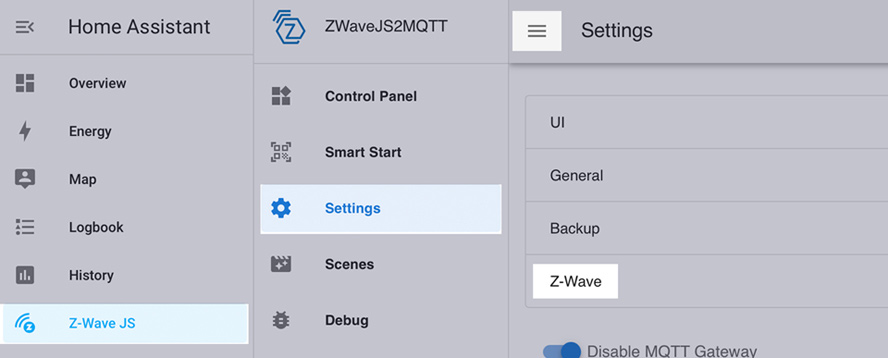
- Click on the hamburger menu ☰ to the left of Control Panel.
- Click on "Settings".
- Click on "Z-Wave" to expand the settings panel.
- From the drop down menu under 'Serial Port' select the corresponding port for Atrim Stick. This was determined in a previous step; we recommend using the longer string as the shorter string, such as /dev/ttyUSB0, could, in theory, change.
- Generate a new security key for your Z-Wave installation by clicking the refresh icon to the right of 'Network Key'. This will create a random, secret key for use by your Z-Wave network, including for use with the Security 2 standard.
- Click "Save" in the bottom right of the screen.

- Click "Z-Wave JS" in the left hand menu. Atrim Stick will now be listed in your device list. Home Assistant may incorrectly list it as a '700 Series-based' controller as neither Z-Wave JS to MQTT nor Home Assistant have upgraded their UIs to distinctly show Z-Wave 800 series labels. If so, you can confirm that Atrim Stick is working in 800 series mode by checking the 'FW' 'SDK' label - if it's greater than 7.12, it's in 800 series mode.

- Further step for North American users: if you're using a North American frequency of Atrim Stick, perform the following steps:
- Click on the down arrow on the left of the Atrim Stick entry.
- Expand the drop down under RF region.
- Select 'USA (Long Range)' if you want Atrim Stick to communicate using Z-Wave Long Range. All Z-Wave products you connect to your Home Assistant installation must be Long Range compatible. OR;
- Select 'USA' to have Atrim Stick communicate in standard, Z-Wave Plus relay mode. All Z-Wave products can operate in this mode.
- Click the split arrow logo to the right of the drop down to save.
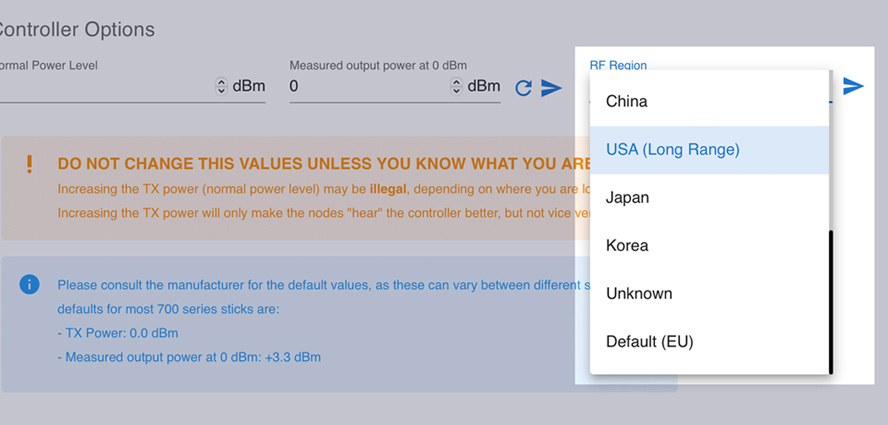
Only for users of Atrim Stick in North America.
Next step: connect Z-Wave devices
Now that you have Home Assistant, Atrim Stick, and a Z-Wave add-on setup, it's time to connect Z-Wave devices to Home Assistant and Atrim Stick.